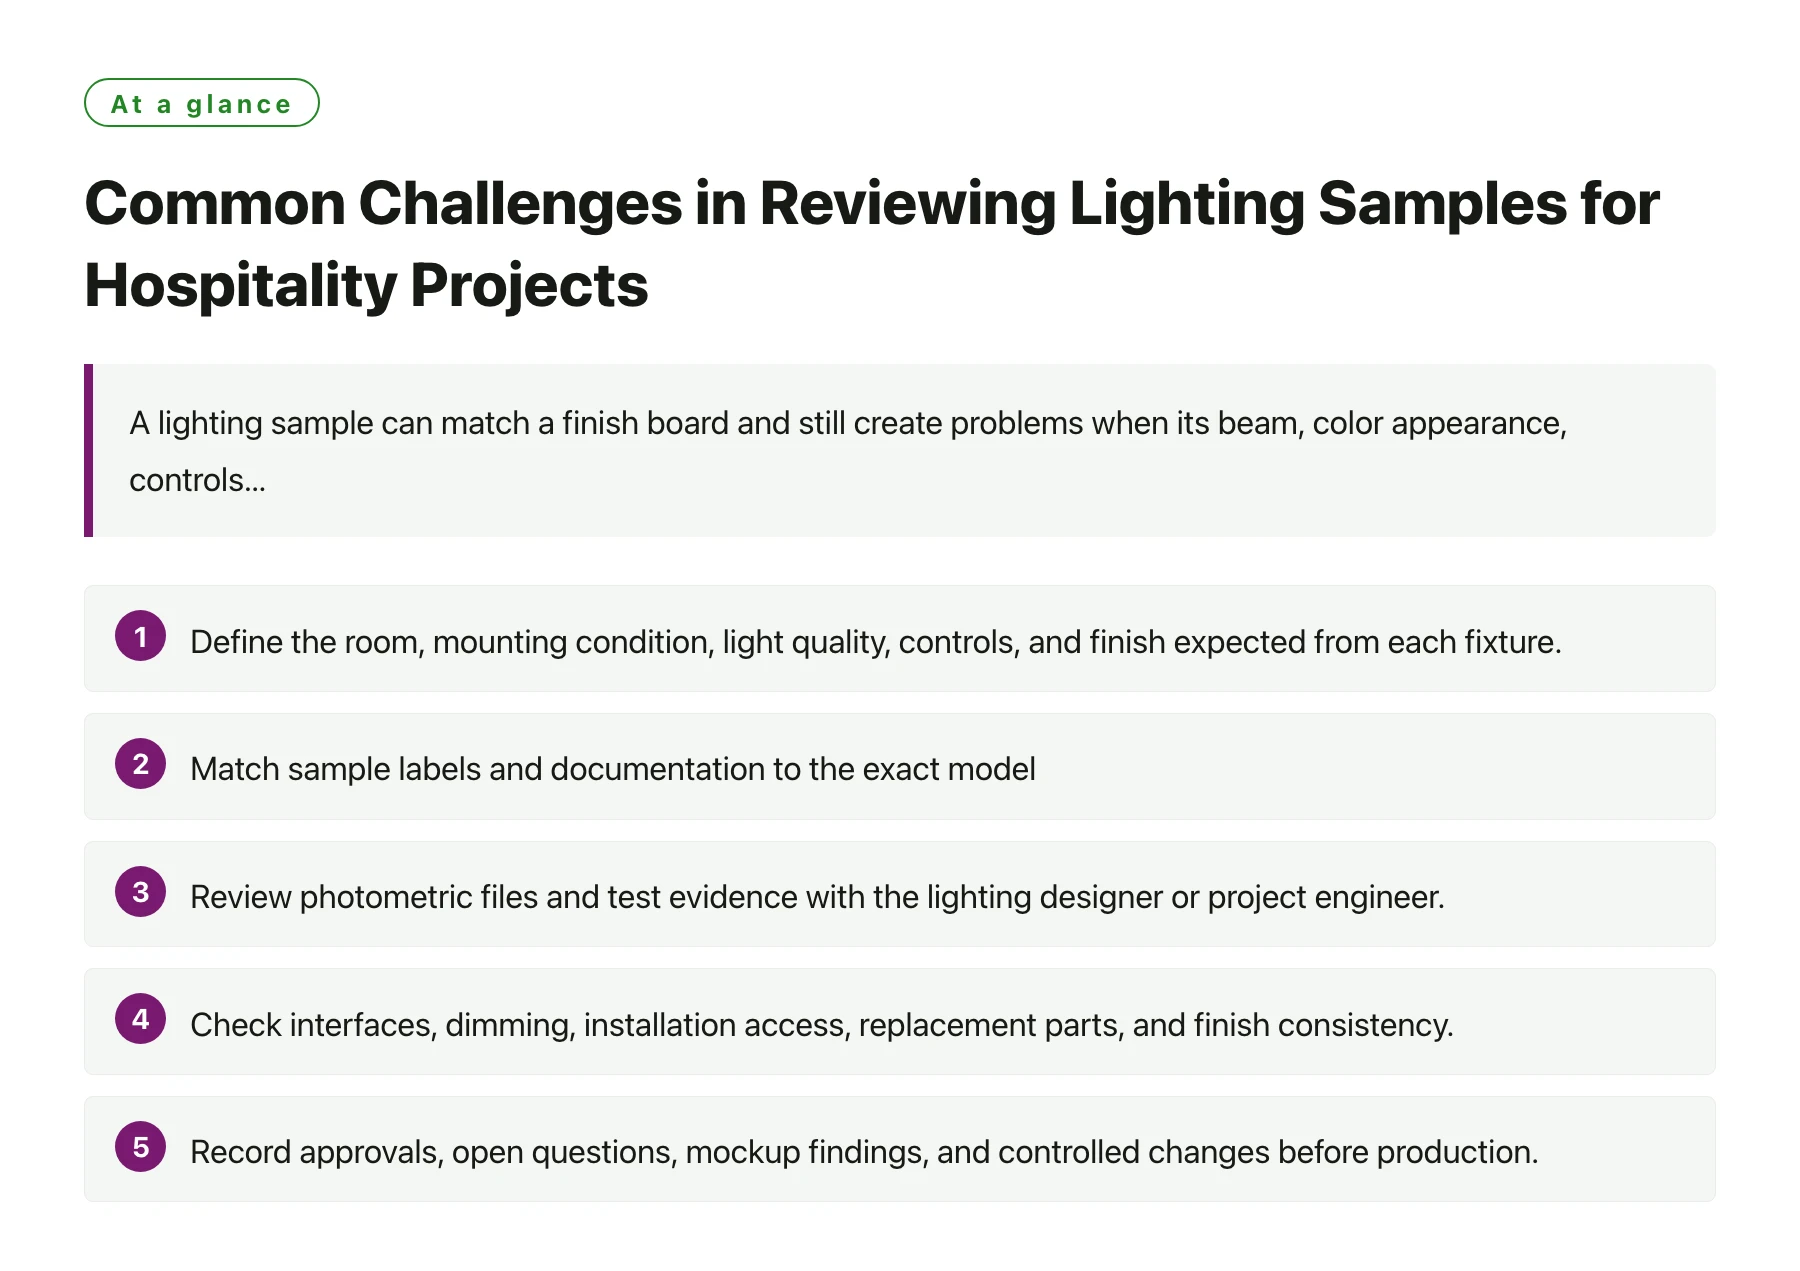
A lighting sample can match a finish board and still create problems when its beam, color appearance, controls, mounting, or maintenance access is considered in the room. For hospitality projects, review physical samples alongside the design intent, photometric data, electrical and control requirements, installation conditions, and procurement schedule. Record which model and configuration were approved so later quotations and production units can be compared against the same basis.
Key takeaways
- Define the room, mounting condition, light quality, controls, and finish expected from each fixture.
- Match sample labels and documentation to the exact model, optics, driver, accessories, and revision.
- Review photometric files and test evidence with the lighting designer or project engineer.
- Check interfaces, dimming, installation access, replacement parts, and finish consistency.
- Record approvals, open questions, mockup findings, and controlled changes before production.
Lighting is experienced as part of a space, so a bench sample and an installed mockup answer different questions. Use each for the decision it can support.
Start with the room and fixture schedule
List the location, fixture type, quantity, mounting method, ceiling or wall condition, control zone, and intended operating scene. A guest room bedside light, corridor downlight, lobby feature pendant, and bathroom mirror light have different tasks and constraints. Review the project schedule and reflected ceiling plan so that the sample is evaluated against the correct position and surrounding finishes, not as an isolated decorative object.
For each fixture, identify the manufacturer, model, optical package, light source or module, driver, dimming protocol, voltage, finish, trim, mounting accessories, and emergency or sensor options where relevant. Request a schedule that distinguishes variants rather than bundling them under one family name. A change in lens, reflector, driver, or control component can affect performance and compatibility even when the outer housing looks similar.
Project teams comparing hotel lighting sourcing options should issue the same schedule and performance brief to each supplier. State which elements are fixed by the designer, which may be proposed as alternates, and who can approve substitutions. That lets sourcing and design teams compare comparable products while making the commercial and technical tradeoffs visible.
Label and document every physical sample
Attach a durable identifier to the sample and record the supplier, model, revision, finish, optics, driver, accessories, and receipt date. Photograph the front, back, connection details, label, and included components. Note whether the sample is production representative, a hand-finished prototype, or a demonstration unit. If the supplier substitutes a component temporarily, record it so the sample is not mistaken for a final configuration.
Check dimensions, weight, finish, joints, seams, edge quality, cable exits, terminals, fasteners, and the fit of trims or canopies. Inspect whether the sample can be installed with the specified ceiling depth, junction box, support, or access panel. For decorative fixtures, review visible surfaces from the angles guests and staff will encounter, including reflections and shadows against the selected materials.
Separate visual acceptance from technical acceptance. The designer may approve the appearance while the electrical engineer reviews the driver and the contractor checks installation access. Record each approval with the reviewer, date, scope, and conditions. A comment such as “approved finish only” should not be interpreted as acceptance of beam distribution, dimming, safety documentation, or the full fixture package.
Review optical data with a qualified designer
Ask for photometric data for the exact luminaire configuration and confirm what the file represents. The Illuminating Engineering Society lists ANSI/IES LM-63 as a standard format for electronic transfer of photometric data; a data file can support lighting calculations, but the project team still needs to confirm the file corresponds to the offered optics and version. [1] A file with the right brand name but a different lens or output package may not model the selected fixture.
Compare the supplier’s declared output, distribution, color characteristics, and operating options with the project schedule and designer’s criteria. Review the source of each value and whether it applies to the assembled luminaire rather than a component. Where calculations rely on an IES file or other photometric document, ask the design professional to validate its suitability and use the project’s agreed calculation method. Do not infer room performance from a sample’s appearance alone.
A mockup can reveal visual issues that a file cannot: glare at seated and standing positions, reflections in glossy finishes, shadows on faces, brightness balance, and how a decorative element reads at actual scale. Test the relevant scenes and viewpoints with representative wall, ceiling, furniture, and surface finishes. Capture settings and conditions so the observation can be repeated after a product or layout change.
Check color, finish, and visual consistency
Review color appearance under controlled and documented conditions. Record the sample’s stated color temperature and color-rendering information, and compare it with adjacent fixtures and the intended scene. If several fixtures operate together, assess whether their apparent color and output remain coherent from the guest viewpoint. Ask whether the reported data applies to the exact LED source, driver setting, and operating mode being offered.
Compare metal finishes, coatings, glass, shades, fabrics, and decorative details with approved samples or finish references. Look at seams, fasteners, welds, edges, and areas visible after installation. If surface variation is expected, define a reasonable reference and who will judge it. Color and texture can appear different under another light source, so the project designer should confirm the final combination in the planned environment.
For custom fixtures, examine repeatability and assembly. A hand-built sample may conceal difficult production steps or have exceptional finishing. Ask which features will be controlled in manufacturing, how shade alignment or fixture balance is maintained, and what replacement parts look like. Request more than one production-representative sample when consistency across a visible group matters.
Test drivers, controls, and electrical interfaces
Confirm the driver model, input range, dimming method, control protocol, and any required interface or accessory. Coordinate compatibility with the project’s control system and electrical design before approval. Ask for written configuration details and any commissioning steps. A fixture that illuminates when switched on may still fail to dim smoothly, respond to the specified protocol, or operate properly across the planned control scenes.
Test the actual control combination wherever possible. Observe start-up, low-end dimming, transitions, flicker or visible instability, response to commands, and behavior after power cycling. The accepted result should be evaluated by the project’s electrical or controls specialist under relevant conditions. Record the tested components and settings; do not generalize from a different driver, control module, or fixture family.
Check cable length, connector type, terminal access, mounting hardware, ceiling cutout, weight support, and installation sequence. For serviceable products, understand how a driver or light source can be accessed and replaced after installation. Make sure the approved package includes the required accessory kit, instructions, and labels so the installer is not forced to improvise on site.
Assess operation, safety, and maintenance needs
Consider how the fixture will be cleaned, serviced, and replaced in a busy property. Ask whether lenses, diffusers, or decorative parts can be removed without damage and whether replacement components will be available for the planned maintenance period. Identify the part number for the driver, module, lens, and visible finish. If special tools or access equipment are required, provide that information to the facilities team.
Route electrical, fire, ingress, or other regulatory questions to the responsible technical and compliance reviewers for the destination market and installation. Verify that documents identify the exact model and relevant configuration. A certificate or report for a related fixture does not automatically cover a modified assembly, alternate driver, or different mounting condition. Keep technical approval linked to the final submittal and not just the sample label.
Where a fixture is installed near moisture, heat, or other environmental exposure, compare the stated rating and construction with the project’s actual conditions. Ask the engineer to confirm that the product is suitable for its location. Clarify any exclusion or installation condition in the project documents so procurement does not treat a general catalogue description as a site-specific approval.
Close the approval loop before ordering
Summarize the final accepted model, optics, output, driver, controls, finish, accessories, mounting details, and approved documents in a signed submittal or purchase specification. Include drawings, photometric files, photographs, sample references, and open item closure. Mark which sample was accepted and retain it in a controlled location where later production can be compared with it.
Set a change-control rule for substitutions to LEDs, drivers, lenses, finishes, factories, or manufacturing processes. Require the supplier to notify the buyer and submit revised evidence before making a change that could affect appearance, performance, interface, safety, or fit. Assign a named reviewer and allow enough schedule for review or a repeat mockup when needed.
Track the approval dates against procurement and installation milestones. Confirm production lead time, packaging, delivery sequence, spare parts, and required documents. At receipt, compare model and carton identifiers with the approved schedule and report any mismatch promptly. A controlled sample decision gives design, purchasing, contractor, and supplier teams a common reference through delivery and handover.
Sources
Frequently asked questions
Is a physical lighting sample enough to approve a fixture?
It can support review of appearance, construction, and some interfaces, but technical performance, controls, installation, and compliance may need separate documents and specialist review.
What is an IES photometric file used for?
It is a standardized data format used to transfer luminaire photometric information. Confirm that the file matches the exact fixture configuration and have the lighting designer assess its use.
Should a mockup be required for every fixture?
Use mockups where room context, visual comfort, finish interaction, controls, or installation conditions could change the decision. The project designer can identify which types need one.
What should be frozen before a lighting order is placed?
Record the model and revision, optics, driver, control method, finish, accessories, mounting details, required documents, packaging, and who can approve changes.